How To Grow Oyster Mushrooms: The Ultimate Step By Step Guide
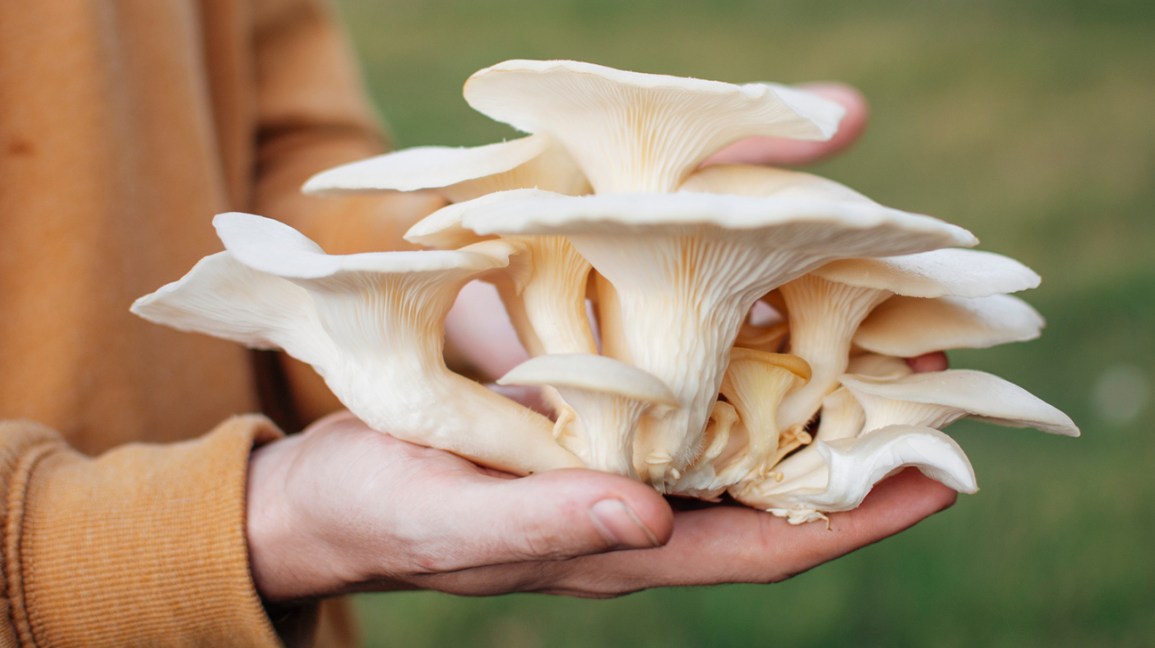
Oyster mushrooms are one of the easiest varieties of mushrooms to grow, they’re delicious to eat & really healthy for you too.
The problem is finding a reliable step by step guide to show you how…
…so we created one for you!
That way you can avoid all the mistakes and hassles of beginning oyster mushroom cultivation and get to the good stuff; harvesting & eating your own fresh Oyster mushrooms grown at home.
Why Grow Oyster Mushrooms?
Oyster mushrooms are plentiful in the wild, growing on dead standing trees or fallen logs and were first cultivated by the Germans in World War 2. In more recent years commercial production has skyrocketed.
Total commercial oyster mushroom cultivation worldwide increased over 18-fold between 1965 – 1997 (from 350,000 metric tons in 1965 to 6,160,800 metric tons in 1997.
So why the huge jump in popularity?
The answer: fast production methods + an increased interest in the health and culinary benefits of Oyster mushrooms.
Quick & Easy To Grow…
Oyster mushrooms are possibly the easiest variety of mushroom to grow.
They are super quick, relatively resistant to competitor organisms and they can grow on a wide range of substrate materials.
We’ll cover how to grow Oyster mushrooms & what equipment you’ll need below, but the basic process is quite simple and can be broken up into 3 main phases:
1) Inoculation
Oyster mushroom spawn is mixed with the substrate material (often straw or sawdust, but a range of other materials can also be used; see below).
This growing medium is then usually placed into bags with small holes or air filters in them for air exchange.
2) Incubation
The bags are then placed in a warm (20-24C/68F-75F) dark room to incubate and begin the first phase of growth.
Only 10-14 days are needed for the spawn to grow a full web of root-like threads of mycelium and colonise the growing substrate.
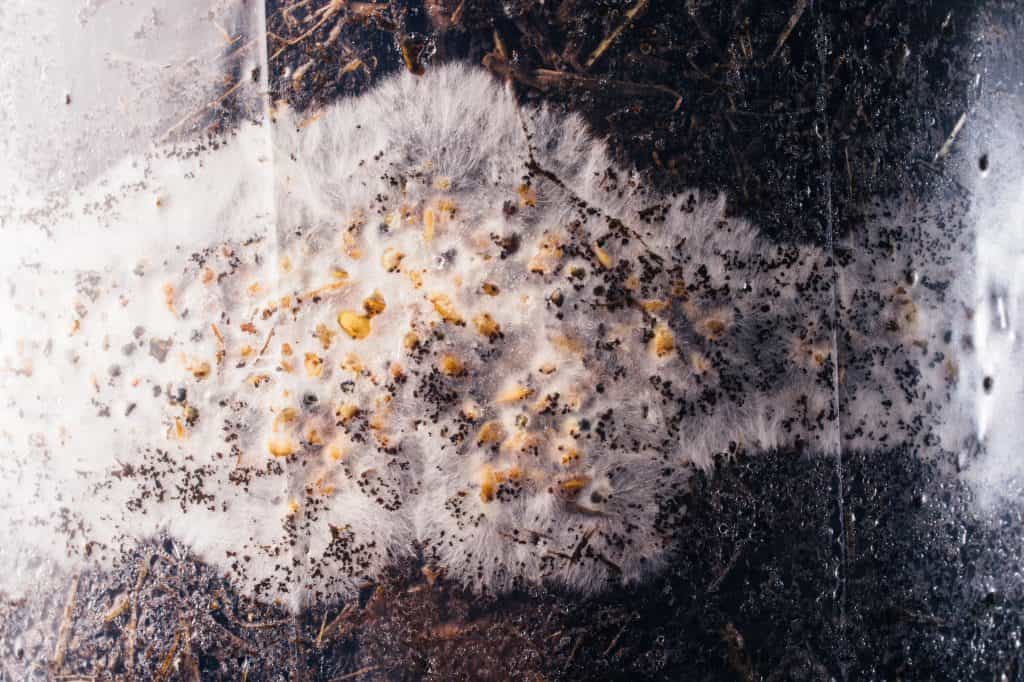
Oyster mushroom mycelium colonising straw & coffee ground substrate.
3) Fruiting
Once the growing medium is fully colonised by the spawn, it is time for the mushrooms to start fruiting.
The bags are exposed to autumn-like conditions with fresh oxygen, high humidity, low level light & often cooler temperatures.
This signals to the mycelium that it’s time to start producing mushrooms and small pins begin to emerge.
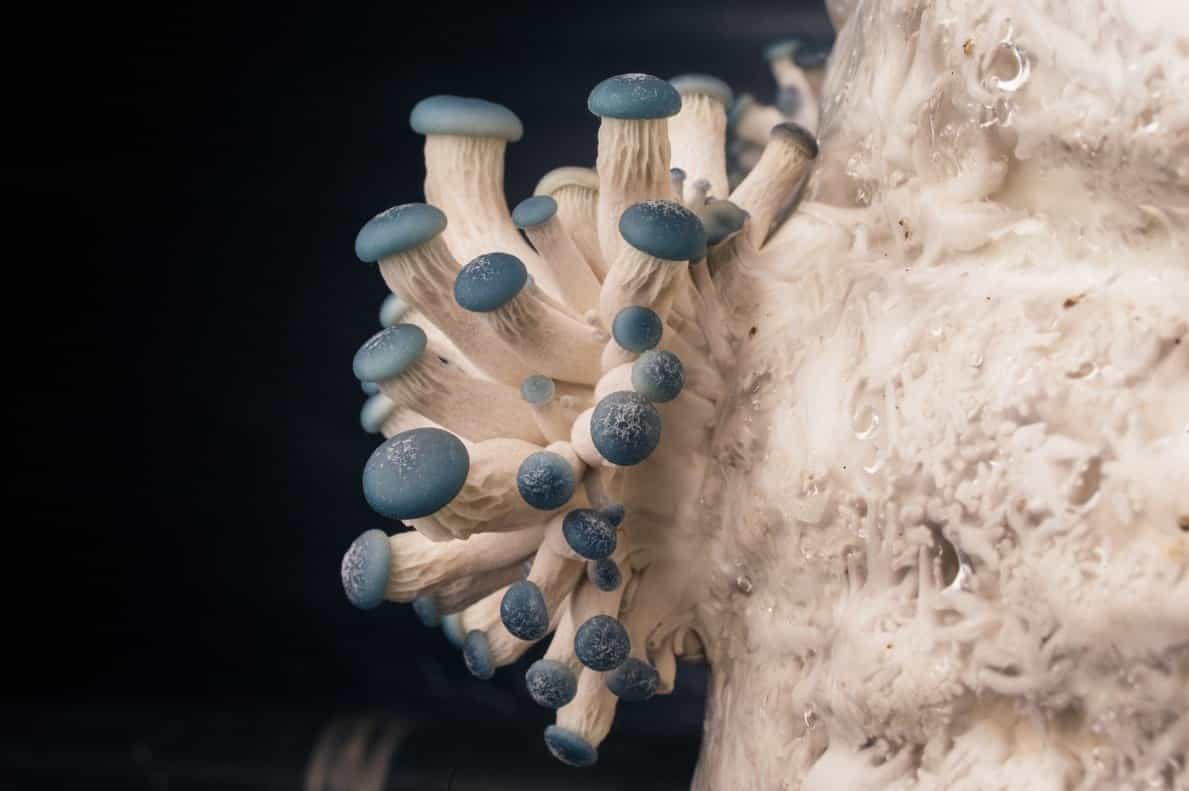
Oyster mushroom pins begin to emerge from holes in the bag….
Fed by water and nutrients from the mycelium, these tiny pins then rapidly grow and develop into full size mushrooms in just 5-7 days.
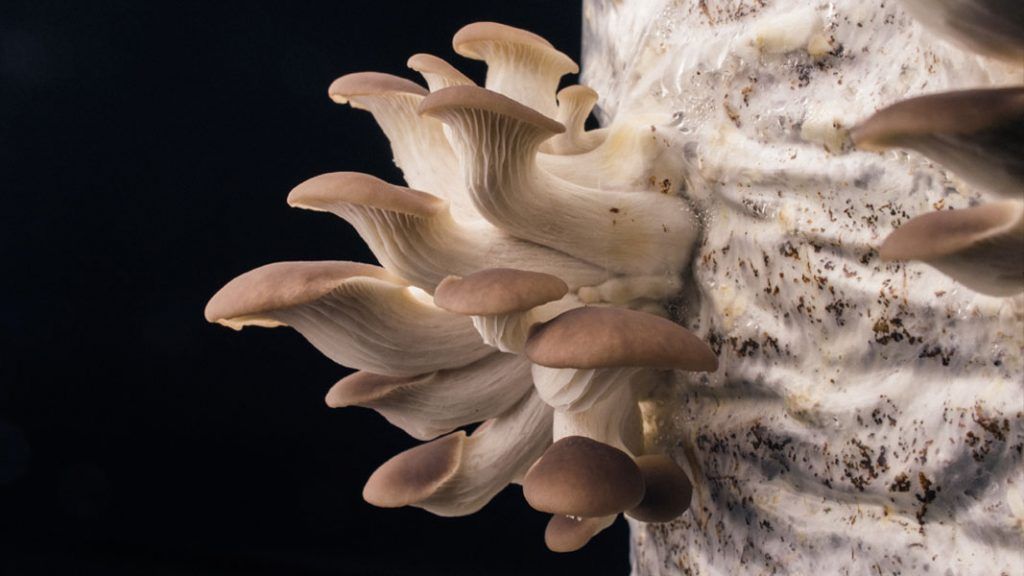
Oysters mushrooms, ready to harvest just 7 days after starting to grow out of the bag
A crop of mushrooms can be harvested three times before the mycelium becomes exhausted, with a new crop of mushrooms manifesting every 7-14 days during this time.
In other words, it takes about just 5-8 weeks to grow 3 crops of Oyster mushrooms…and all this can be done with minimal equipment or expertise.
That’s why they’re so popular commercially and also for people first venturing into growing mushrooms at home too.
Health Benefits of Oyster Mushrooms
The ease of growing Oyster Mushrooms isn’t the only perk. Here are just some of the medicinal and nutritional benefits of Oyster mushrooms well:
- Boosts immune system
- Improves strength and regulation
- Antimicrobial (Helps fight off E. coli, Staph, Candida overgrown, Streptococcus, and Enterococcus infection)
- Anticancer (polysaccharide in Oyster mushrooms is anti-tumor in animal studies and in-vitro)
- Antiviral (protects against direct and indirect viral activity)
- Protein rich
- Cholesterol Free
- Contains high levels of Vitamins D, D3, D5 and A
So now you know that Oyster mushrooms are:
- Increasingly popular
- Quick & easy to grow
- Have great health & medicinal benefits
How To Grow Oyster Mushrooms At Home
Step 1: Get Prepared
Once you’ve decided you want to learn how to grow Oyster mushrooms, the next step is to get prepared & source all your materials.
Step 2: Prepare Your Oyster Mushroom Substrate
The goal of the substrate is to provide a hydrated nutrient-dense food source which is also clean of other micro organisms that would normally compete with the mushroom mycelium.
Straw, cardboard, sawdust pellets and coffee grounds are all easy substrates to use for growing Oyster mushrooms that achieve this goal.
Here’s a quick overview of how to prepare each one.
Straw & Cardboard
Straw is the most commonly used substrate for Oyster mushroom cultivation. It is usually cheap, contains essential nutrients and Oyster mushrooms thrive on it.
Pasteurise by soaking in hot water (65-80C / 149-176 F) for 1-2 hrs, or in a cold water high-pH lime bath for 12-18 hours.
Sawdust pellets
The great thing about using these is that they are already pasteurised by the heat & pressure of pellet production process. Add equal weight of water to weight of pellets, soak for 30 mins. And then mix to break up the pellets into hydrated sawdust.
Coffee grounds
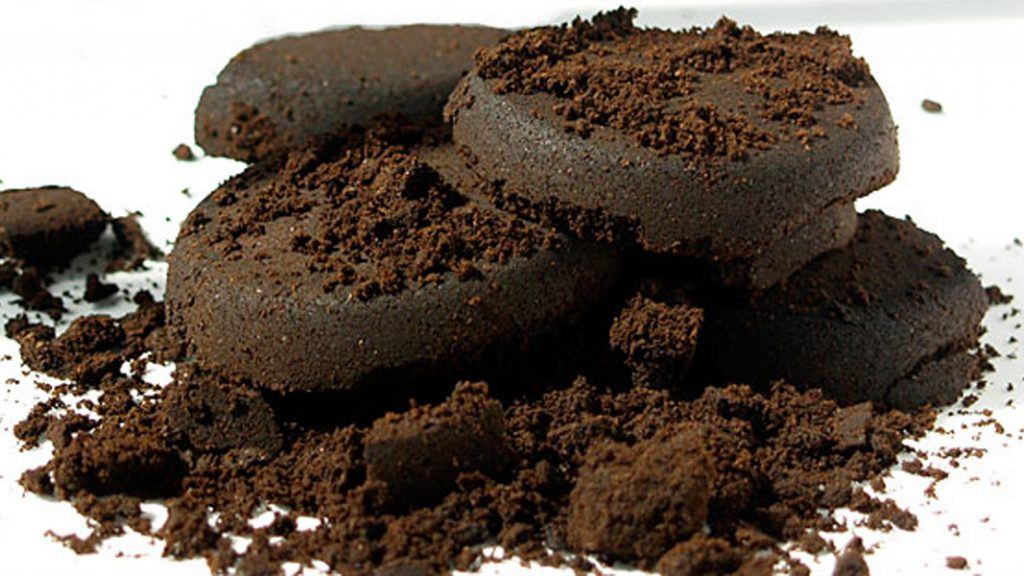
Waste coffee grounds – a plentiful (and already pasteurised) resource
Despite a lot of misinformation on the internet, coffee grounds can actually be a pretty good substrate for growing oyster mushrooms.
The key is to only use fresh grounds (within 24 hours of brewing) which are already pasteurised and hydrated by the coffee brewing process.
Beyond 24 hours, competing moulds start to develop and will out compete your mycelium.
Ideal as a substrate on it’s own in small amounts (1kg or less), but if you go bigger, mix in 20-50% of straw.
Step 3: Inoculation
Inoculation is the process of adding your mushroom spawn to your prepared substrate.

Before you start mixing, clean your hands well with soap and wipe down all surfaces you’re about to work on with a cleaning spray.
Make sure your substrate has the right moisture content. The pasteurization process will probably moisten your substrate to the correct level, but it’s essential to check that your substrate is not too dry or too wet.
Depending on the material, you are aiming for anything between 55% hydration (sawdust and coffee grounds) to 74% (straw). The easiest way to check is with the squeeze test.
Squeeze the substrate slightly in your hand. It should bind into a ball in your hand, and couple drops of water should come out. If more than this occurs, you’ll need to dry your substrate out a bit. If it doesn’t hold together in your hand, it is likely too dry, and you’ll need to add more water.
Next, mix the substrate and mushroom spawn in a container of some sort (large plastic box, barrel, whatever you have to hand) then load the substrate into your growing vessels and close the top with a rubber band, paperclip, tape or tie of some kind.
If you’re not using a filter patch bag, then make a few tiny holes every 10cms around the bag for air exchange. Check out this short video lesson where we walk you through an example of the inoculation process with coffee & straw as the substrate.
Step 4: Incubation
Incubation is where the magic begins!
It’s where the spawn that you introduced will grow and spread out across the substrate, in preparation for the final phase of fruiting.
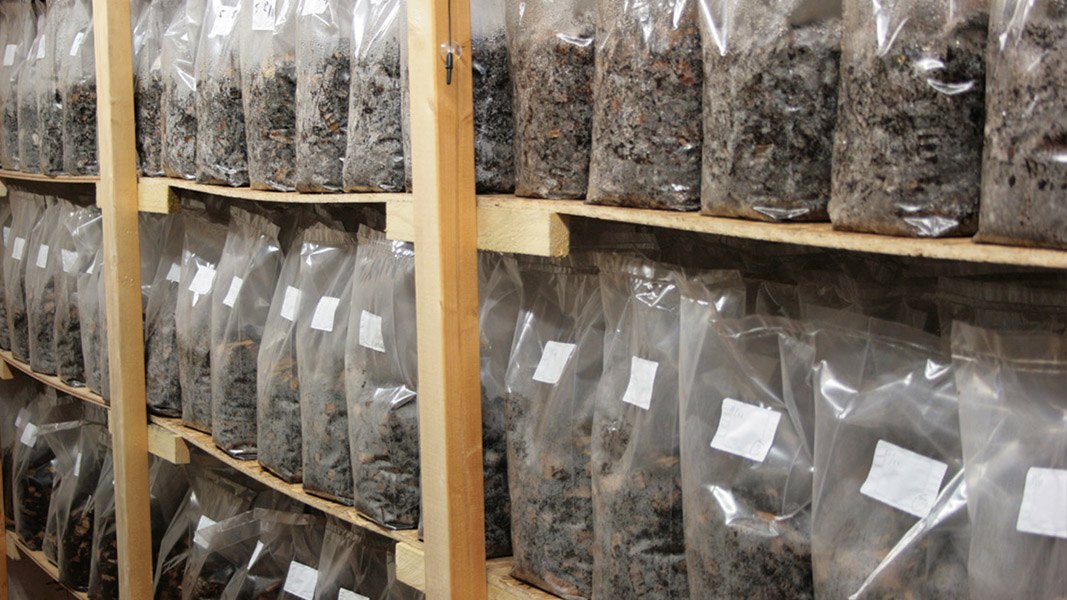
Hundreds of Kg’s of Oyster mushroom substrate incubating at GroCycle Farm
Providing the conditions needed for incubation is simple, even at home.
You can use any warm (20-24C) space in your house, like a cupboard or boiler room. The area should ideally be dark to prevent early pinning, but it’s not essential.
The spawn will come to life in the warm, humid conditions of the bags and eat its’ way across the food you’ve given it.
Once the bag is completely white, it’s time to start fruiting.
Step 5: Fruiting
Now for the moment you’ve really been waiting for!
After all your efforts, it’s time to reap the reward and harvest some delicious Oyster mushrooms.
Mushrooms grow in the wild in response stress (like running out of food) or to changes in their environment.
You want to replicate this process in your home or garden.
Once the bag is fully colonised (i.e the mycelium is soon going to run out of food) it will now be keen to grow mushrooms in a bid for survival.
All you need to do is provide the optimal conditions for the mushrooms to develop:
Light
While direct sunlight is not a good idea, some indirect or shaded light is needed for the fruitbodies to form properly. They don’t gain energy from the light, so an indirect lighting source or shaded windowsill will be sufficient.
Fresh Air
In the wild Oyster mushrooms are used to growing out of a stump or log in fresh oxygen rich air. Providing a 5cm slit or hole in your bag will signal to the mycelium that there is a space to grow out from.
Humidity
Spray with water twice a day to keep the substrate hydrated and the environment in which the mushrooms are developing humid. This will encourage the mushrooms to form and stop them from drying out as they develop.
Temperature
This is specific to each strain, but generally (with the exception of King Oysters) most Oyster mushroom strains are not too fussy about what temperature they will grow at. They will form best in their ideal range as mentioned in the strains info above, but as long as it is in the range of 10-30C (50-86F) they should still fruit.
Within 7 days you should start seeing tiny mushroom pins forming out of the hole.
In the following 5-7 days you will witness a miracle of nature as these baby mushrooms double in size every day (keep spraying twice a day to maintain the humidity as they grow).
Step 6: Harvest & Growing More Crops
Once the edge of the caps of the Oyster mushroom starts to flatten out or turn upwards, it’s time to harvest before they begin dropping lots of spores.
This can be difficult to judge the first time around, but you soon get a feel for it.
A couple of tips: if you see them stop growing any bigger, starting to dry out, or dropping lots of white ‘dust’ (spores) then it is time to harvest!
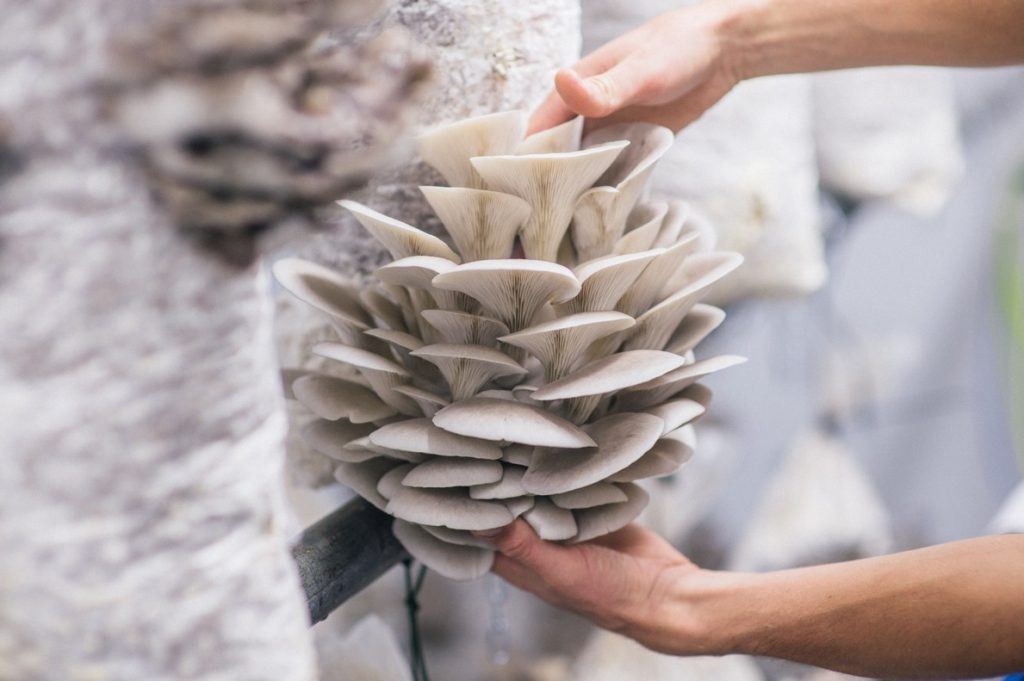
Harvesting just as the edge of the mushroom caps begin to flatten out
You can either twist them off with your hands or cut the cluster off with a knife.
Next, cook a fantastic mushroom meal using one of these delicious Oyster mushroom recipes.
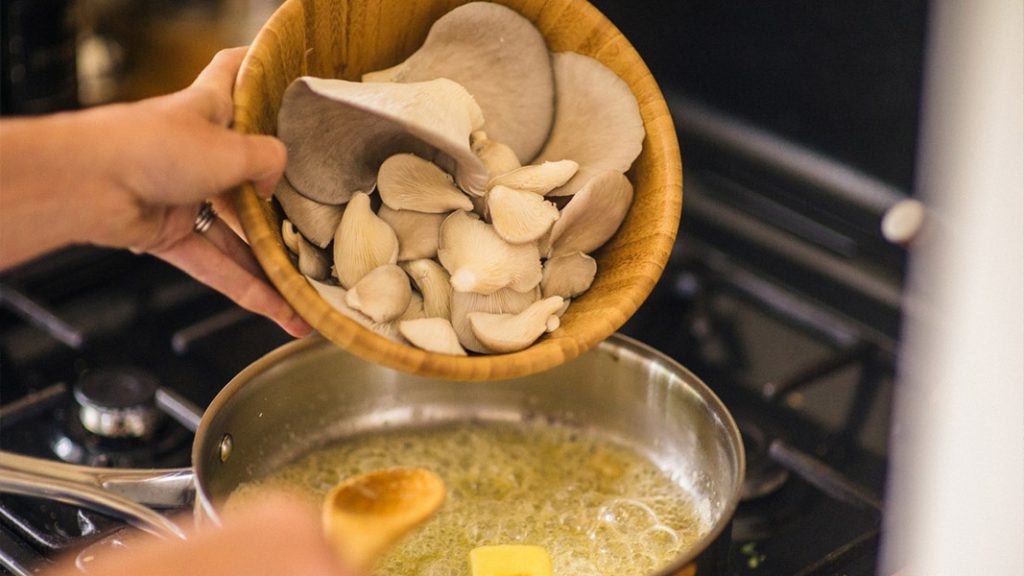
Pan-fried fresh home grown Oyster mushrooms…mmmm!
Two days later, after you’ve devoured your leftovers, submerge the mushroom substrate in water overnight to rehydrate, then follow all the same instructions from Step 5: Fruiting.
Spray twice a day in the same hole you cut out earlier, and 1-2 weeks later you’ll have more mushrooms beginning to emerge.
You can repeat this for a smaller 3rd crop before the substrate starts to run out of available nutrients.
Then you can break up the substrate and add it to your compost or as a mulch/top layer dressing for the soil in your garden.
Next Steps….
So, now you know how to grow oyster mushrooms at home and you have an in depth guide you can come back to time and time again as you get growing.
It’s time for you to order some spawn and give it a go.
